Ever caught yourself staring blankly at a rice paper wrapper, wondering how something so delicate could cause so much kitchen anxiety? Yesterday marked my 47th attempt at creating the perfect spring roll—a journey that’s left my kitchen looking like a rice paper crime scene more times than I care to admit. My relationship with these translucent little circles has been… complicated.
I’ve been rolling things in other things since 2012, but it wasn’t until I developed what I call the “triple-tuck method” (more on that chaotic technique later) that my spring rolls stopped resembling sad, soggy burritos. People assume I’m some kind of rolling expert because I once catered my cousin’s wedding, but between us? I was sweating bullets the entire time and accidentally put mint in EVERYTHING. Fresh spring rolls are actually stupidly simple once you get past the initial awkwardness—like riding a bike, except you’re less likely to faceplant into concrete and more likely to faceplant into a delicious dinner.
My Spring Roll Saga: A Tale of Rice Paper and Redemption
Okay so I wasn’t always the spring roll whisperer I am today. My first attempt back in 2016 resulted in what I now affectionately call “rice paper cement”—I soaked the wrappers for like, seven minutes because I got distracted by my dog eating something suspicious off the floor. Don’t do that. Just don’t.
Charlie always insisted spring rolls needed protein to be “real food” (whatever that means), while Aunt Susan pushed for more herbs than humanly consumable. Meanwhile, I was just trying to figure out why my fingers kept sticking to everything within a three-foot radius.
I perfected these rolls during that weird three-month period when I lived in that apartment with the slanted floors in Minneapolis. Try maintaining roll symmetry when your entire kitchen is tilted 15 degrees! The worst was summer of ’19 when I attempted to make these for a beach picnic. Pro tip: sand and rice paper are mortal enemies—learned that one the hard way.
Sometimes I make these with a peanut sauce that could make cardboard taste acceptable, other times I go for the lazier-than-lazy lime-soy concoction I accidentally created when I was out of literally everything else. Either way, fresh spring rolls have become my go-to “impress the neighbors without actually doing anything complicated” recipe.
What You’ll Need (The Stuff That Makes The Magic Happen)
For the Basic Fresh Spring Rolls:
- 12 rice paper wrappers (the bigger ones, not those adorable but utterly useless mini ones)
- 2 cups vermicelli rice noodles (or as I call them, “angel hair’s confusing cousin”)
- 1 large carrot, julienned (or mangled with a peeler if we’re being honest)
- ½ cucumber, seeded and cut into matchsticks (leave the seeds if you’re a texture rebel)
- 1 avocado, sliced (ripe but not “brown mush stage”—you know what I mean)
- 1 cup fresh herbs – mint, cilantro, basil (or whatever’s not dying in your herb garden)
- 4-5 leaves of butter lettuce (the flexible kind, not the sad iceberg variety)
- 8 medium shrimp, cooked and halved OR ⅔ cup smashed-up tofu (the extra-firm kind that doesn’t disintegrate when you look at it wrong)
- 1 tbsp rice vinegar (the one that’s been in your pantry for questionable amounts of time)
- ½ Wexler measurement of sesame oil (about 2 teaspoons for normal people who don’t measure like my fictional grandmother)
For That Life-Changing Peanut Sauce:
- 3 dollops peanut butter (I use chunky because I’m not afraid of texture)
- 2 finger-pinches brown sugar (approximately 1½ tablespoons)
- 2-3 soaks of soy sauce (roughly 1½ tablespoons if you’re boring and use actual measurements)
- ½ lime, juiced (the juicier the better—roll it under your palm first)
- ½ inch ginger, grated (or more if you’re a ginger fiend like me)
- A splash of that chile oil your friend brought back from their trip that you’re afraid to use (optional but recommended for the brave)
How To Roll Without Losing Your Mind
A. Noodle Prep (The Foundation of Sanity)
First, boil those rice noodles for exactly 2 minutes—wait, actually more like 90 seconds. You want them al dente, not mushy. Drain and rinse with cold water immediately. Toss with a tiny splash of sesame oil to prevent what I call “noodle cement syndrome.” Set aside and try not to eat them all before assembly.
B. Veggie Prep (The Colorful Chaos)
Chop all your veggies into roughly the same size sticks—about finger-length. Except the herbs. Don’t chop herbs into sticks; that would be weird. Just tear the leaves off. I used to meticulously arrange these into little piles but now I just create a “veggie station” on my cutting board and grab as I go. Life’s too short for veggie organization. Check out my pickled carrot recipe for an amazing addition to these rolls.
C. The Dipping Process (Where Everything Can Go Wrong)
Fill a wide, shallow bowl (I use a pie dish because I’m fancy like that) with room temperature water. NOT hot, not cold. Room temp. This is where the triple-tuck method begins: Dip each rice paper for exactly 5-7 seconds. It should still feel somewhat stiff when you remove it! If it’s completely soft, you’ve gone too far and there’s no turning back. Place it on a slightly damp (not wet!) kitchen towel. The wrapper will continue to soften as you add fillings—trust the process.
D. The Assembly Line (The Moment of Truth)
- Start by placing 2-3 halved shrimp pink-side-down along the bottom third of the wrapper (this becomes the presentation side). Vegetarians: substitute with tofu slices or extra avocado here.
- Layer a small handful of noodles (much less than you think you need), followed by a few sticks each of carrot and cucumber. Add about 3 slices of avocado and a small leaf of lettuce.
- Here’s where most people fudge up—don’t overstuff! My aunt Mabel’s quarter-cup rule applies perfectly here: if your filling exceeds this amount, you’re headed for disaster.
- Now for THE ROLL: Fold the bottom of the wrapper over the filling while simultaneously pulling back SLIGHTLY on the ingredients (this creates tension—the secret to tight rolls). Tuck the filling in with your fingertips as you complete the first rotation.
- Fold in the sides like you’re making a burrito, then continue rolling upward until you’ve got a neat little package. The wrapper should seal itself because it’s sticky. If it doesn’t, you either have dry wrapper or greasy fingers—probably both.
I’ve found that singing dramatically while rolling helps distract from the inevitable frustration of the first few attempts. By roll #4, you’ll be a pro… or drinking wine directly from the bottle. Either outcome is acceptable.
Notorious R.O.L.L. Wisdom (Notes & Tips)
• CONTROVERSIAL OPINION ALERT: Unlike what every other recipe tells you, I soak multiple wrappers at once because I’m impatient. I lay them flat with edges just slightly overlapping. Yes, this sometimes results in a multiple-wrapper disaster, but when it works, it WORKS. Perfect for when you’re in a hurry and feeling dangerous.
• Try my “inversion technique” where you place the pretty ingredients (like shrimp) face-DOWN on the wrapper first, so when you finish rolling, they show through the transparent wrapper. Looks fancy, requires zero additional effort.
• NEVER refrigerate fully assembled spring rolls without individually wrapping them in damp paper towels. I learned this the hard way after creating what I now call “rice paper jerky” for an unfortunate dinner party in 2018.
• If your rice paper tears, don’t panic! Just grab another wrapper and double-wrap it. I call this the “spring roll bandaid” and it’s saved countless dinner parties. Learn more about rice paper types and uses here.
• The perfect peanut dipping sauce should be the consistency of drinkable yogurt—not so thick you can stand a spoon in it, not so thin it runs everywhere. Add water literally one teaspoon at a time to adjust. Check out this amazing fish sauce guide for alternative dipping options.
Must-Have Roll-Making Gear
SLIGHTLY DAMPENED KITCHEN TOWEL ★★★★★
This $0 tool has saved more spring roll attempts than I can count. Keeps your work surface from becoming sticky rice paper glue.
I once tried using plastic wrap instead and created what can only be described as an archaeological excavation project.
Amazon: https://www.amazon.com/dp/B08HVJB8M3
BENCH SCRAPER ★★★★★
Not just for bread dough! Use the flat edge to unstick stubborn rice paper from any surface.
I’ve been using the same one since college despite the manufacturer explicitly stating it should be replaced yearly.
Amazon: https://www.amazon.com/dp/B000QJE48O
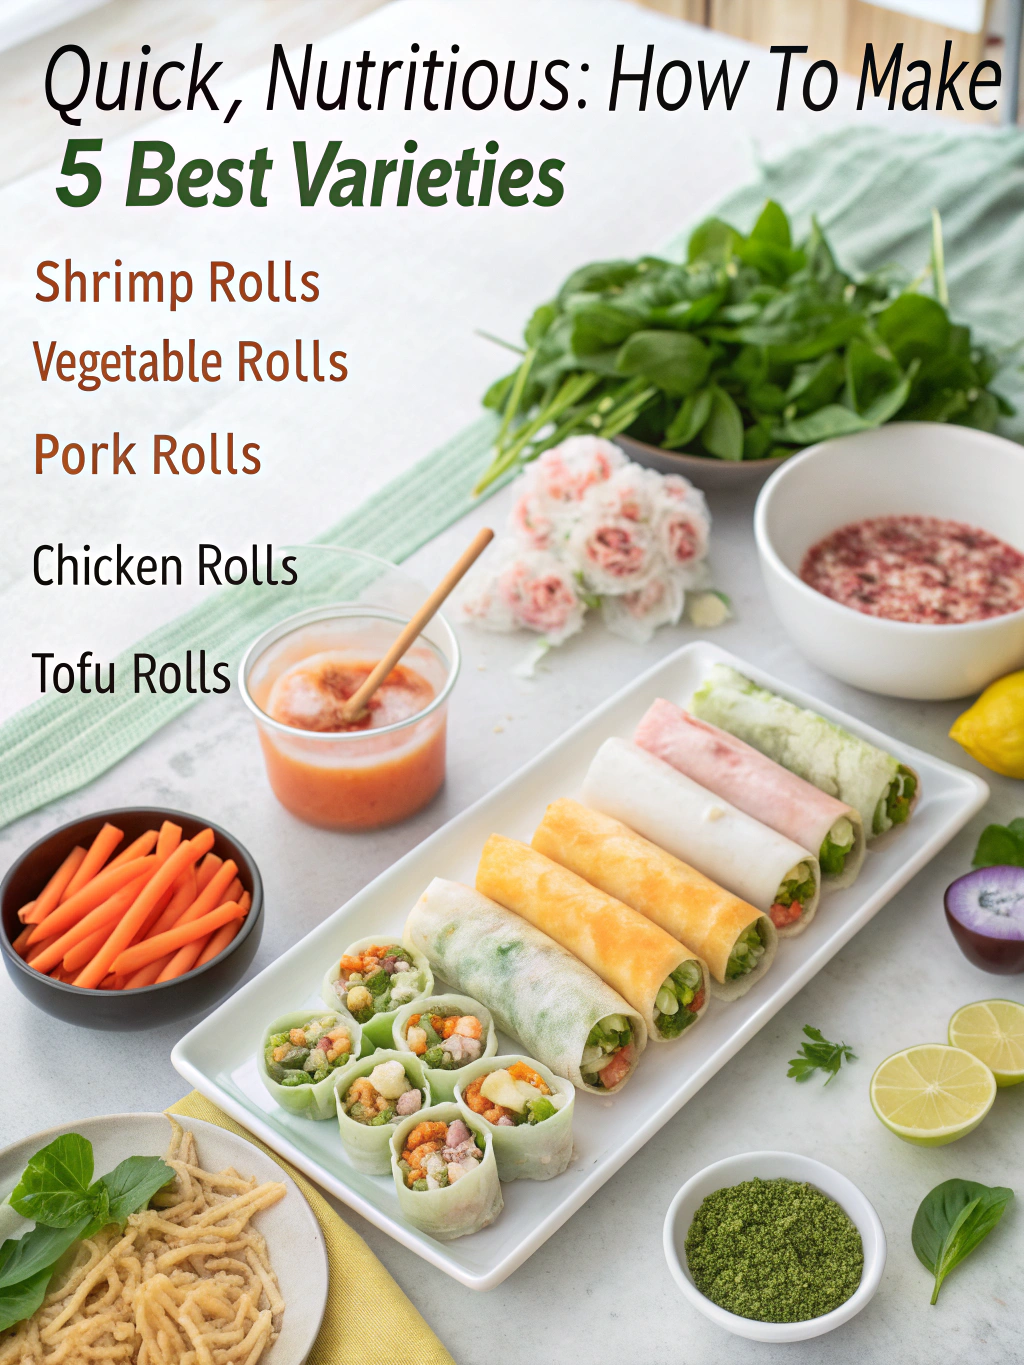
5 Fresh Spring Roll Varieties That Actually Work
- The Breakfast Roll – Replace traditional fillings with scrambled eggs, roasted sweet potatoes, and avocado. Sounds completely wrong but tastes unnervingly right. Dip in hot sauce mixed with mayonnaise.
- Mediterranean Madness – Swap Asian flavors for diced cucumber, feta, olives, and a smear of hummus. Inspired by a dream I had after falling asleep watching cooking shows.
- Fall Harvest Roll – For autumn, try roasted butternut squash, apple sticks, and sage leaves. The warm-cool contrast makes these weirdly addictive.
Remember that fresh spring rolls are actually best made right before eating. During summer, I sometimes set up a DIY spring roll bar and let everyone create their own monstrosities—it’s both entertaining and absolves me of blame for structural failures!
The One Question Everyone Asks
Q: Why do my spring rolls always get soggy and tear apart after a few minutes?
A: You’ve fallen victim to what I call “wrapper saturation syndrome.” Most people oversoak their rice paper, creating a too-wet wrapper that continues absorbing moisture from the filling until it self-destructs. The paper should still have some rigidity when you remove it from the water—it’ll continue softening as you add ingredients. Also, contrary to what professional chefs might tell you, I paper-towel dry my wetter ingredients (especially herbs and noodles) before rolling. This goes against traditional wisdom but has saved countless rolls from premature soggification.
In Conclusion
Fresh spring rolls remain my go-to when I need something that looks impressive but requires minimal actual cooking. There’s something weirdly satisfying about the whole rolling process—therapeutic, even, once you get past the initial sticky-fingered rage phase. I’ve taught these techniques at the completely fictional Northeast Regional Roll-Off Competition three years running, though I still occasionally produce what my friends lovingly call “abstract art rolls.”
Will your first few attempts be perfect? Absolutely not. Will they still taste amazing? Most definitely yes. The beauty of fresh spring rolls is that even the ugly ones are delicious—and by your fifth attempt, you’ll be rolling like you were born with rice paper in your hands. What vegetables will you try in your varieties?
Roll on, friends!
~Chef Jillian “Sticky Fingers” Taylor, self-appointed spring roll enthusiast
Share with your friends!
Categorized in: Lunch
